Want to look around the Linux world without committing to a dual boot? Creating Linux Mint 22 in a virtual machine with VMware Workstation is the perfect place to start. This guide will cover every step, from downloading the ISO to installing and configuring your virtual machine.
Why Use a Virtual Machine?
Running Linux in a virtual machine offers several advantages:
- Isolation: Keep your Linux environment separate from your host operating system.
- Experimentation: Try different Linux distributions without affecting your main operating system.
- Resource Management: Allocate selected hardware resources to the virtual machine.
Let’s Start!
Step 1: Download Linux Mint 22
- Open the Linux Mint website and download the ISO file for 3 different desktop environments (Cinnamon, MATE, or Xfce).
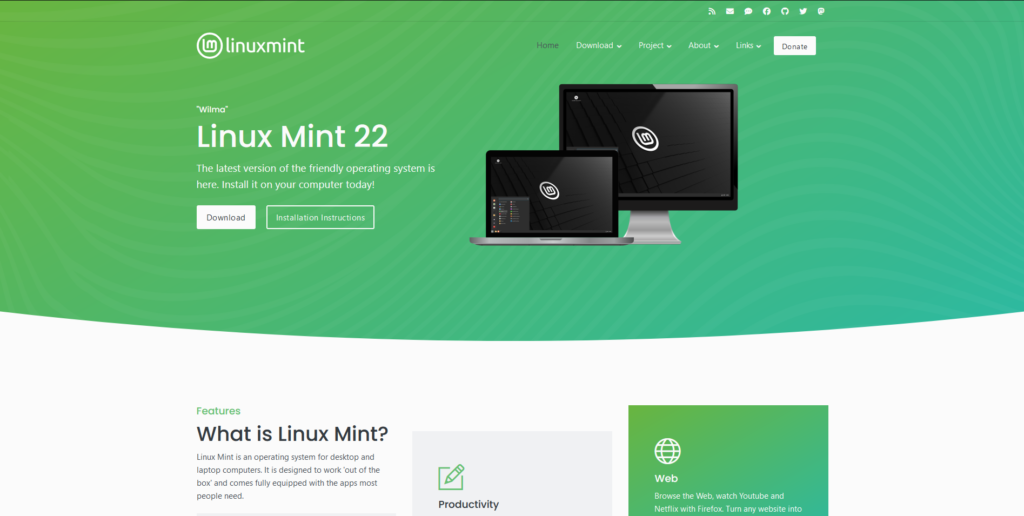
Step 2: Create a New Virtual Machine
- Open the VMware Workstation and create a new virtual machine.
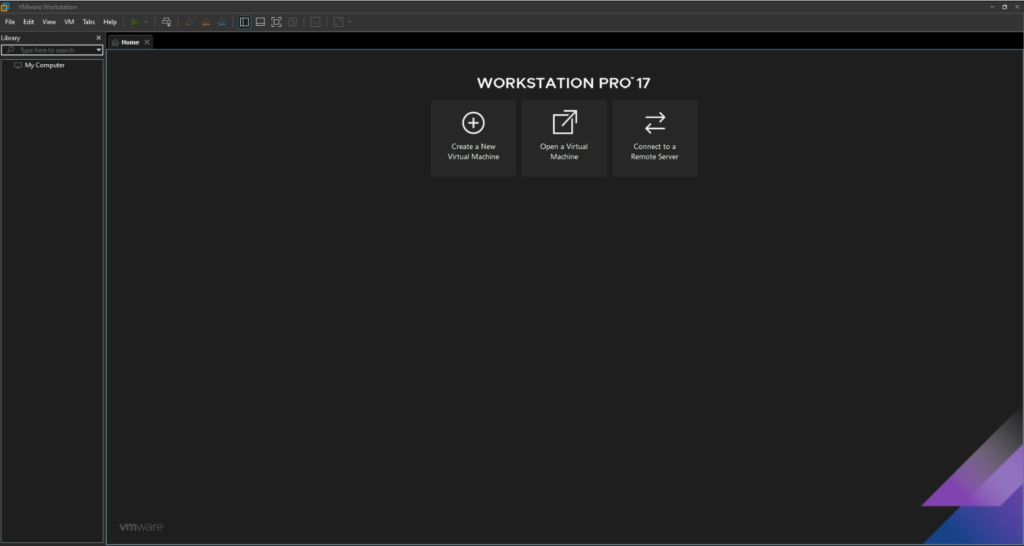
- Choose the typical installation type and select the downloaded ISO file.
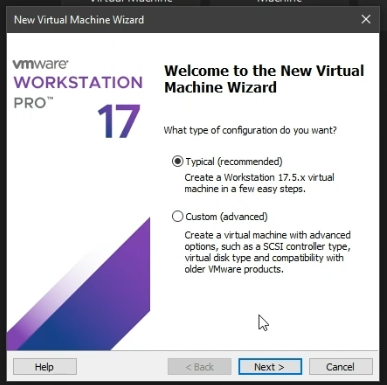
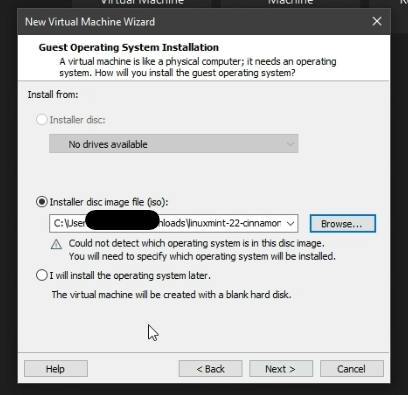
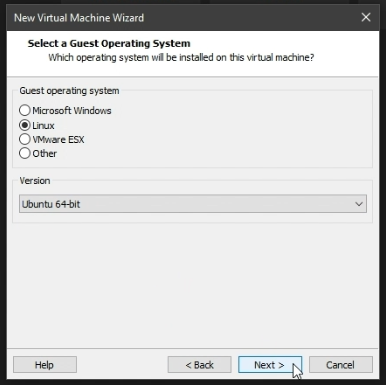
- Specify the guest operating system as Linux and the version as Ubuntu 64-bit.
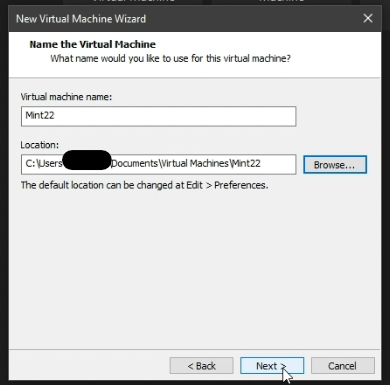
- Assign a name and location for your virtual machine.
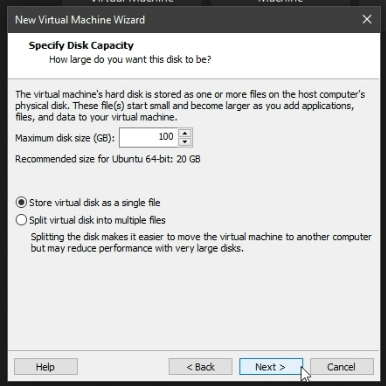
- Allocate sufficient disk space (20GB or more) and choose (Store virtual disk as a single file).
Step 3: Customize Virtual Machine Settings (Optional)
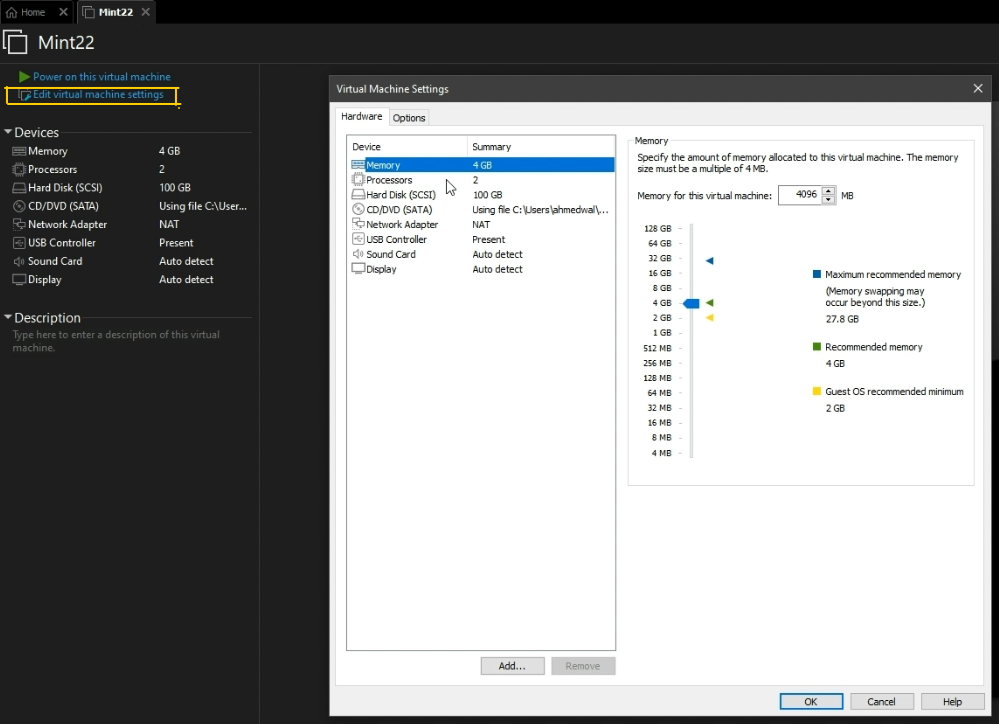
- Access the virtual machine settings using “Edit virtual machine settings to adjust memory, processors, network adapter, and other options.
Step 4: Install Linux Mint 22
- Power on the virtual machine and follow the on-screen instructions.
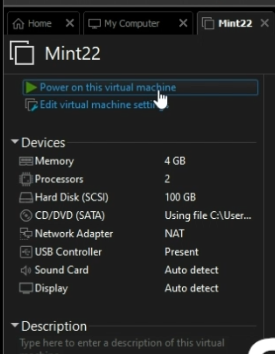
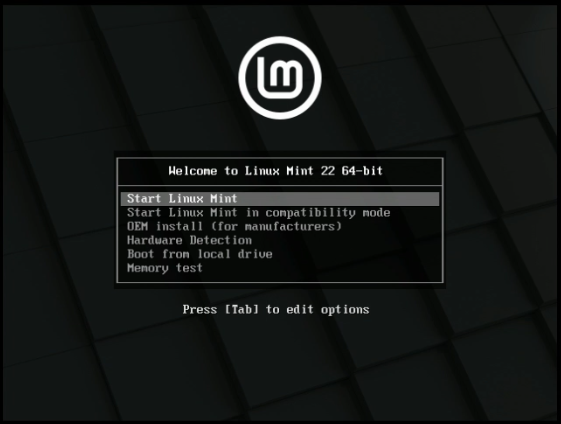
- Select the option “Start Linux Mint” and press the Enter key.
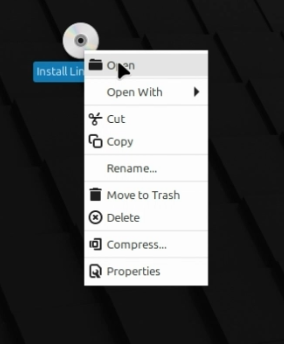
- Open the “Install Linux Mint”, icon that is available on the desktop.
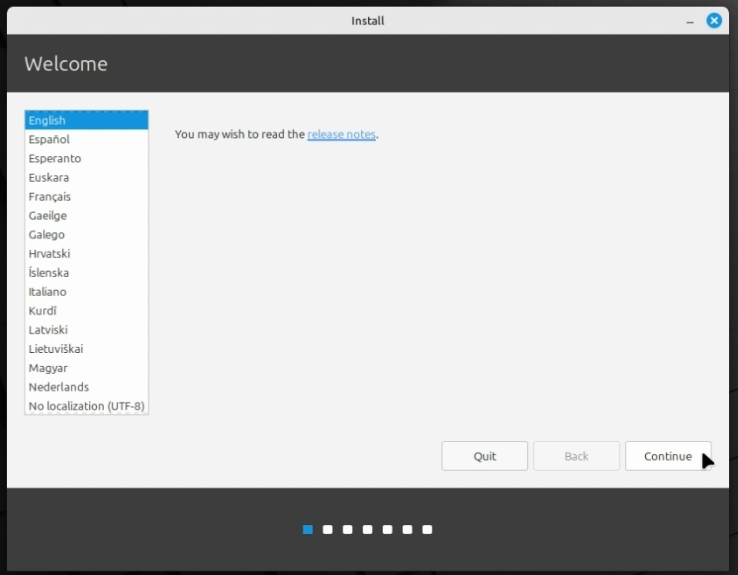
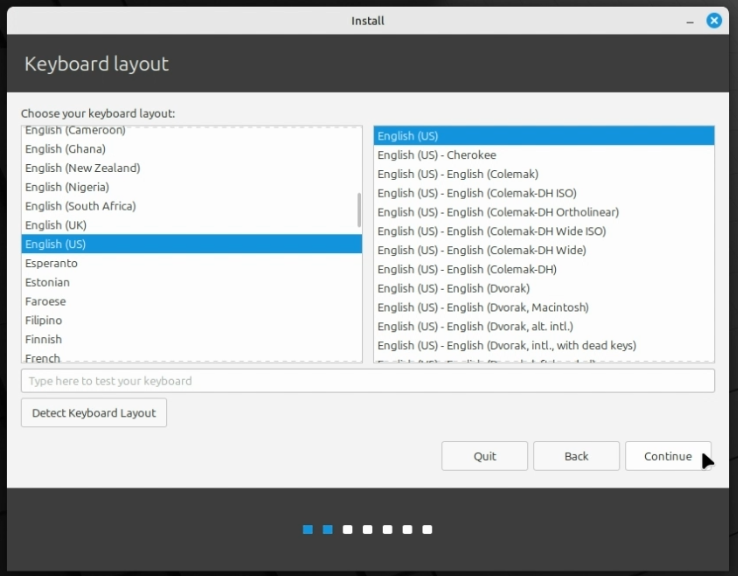
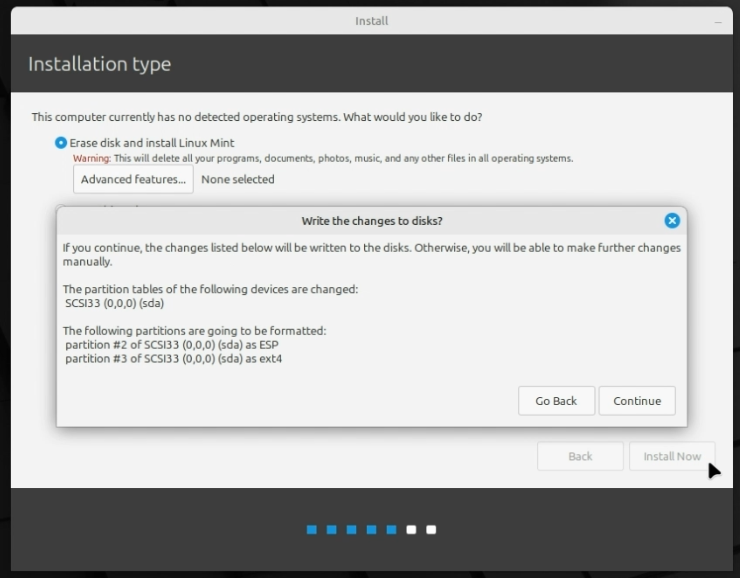
- Choose your preferred language, keyboard layout, and installation type (erase the disk for a fresh install).
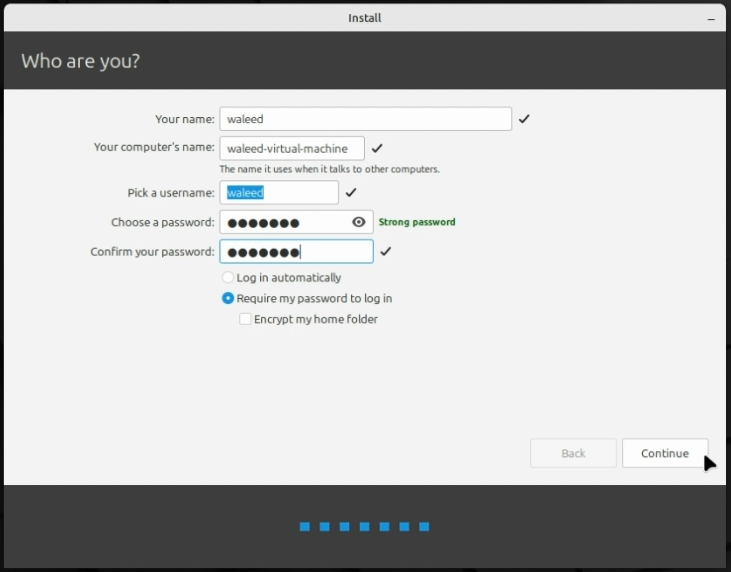
- Create a user account with a strong password.
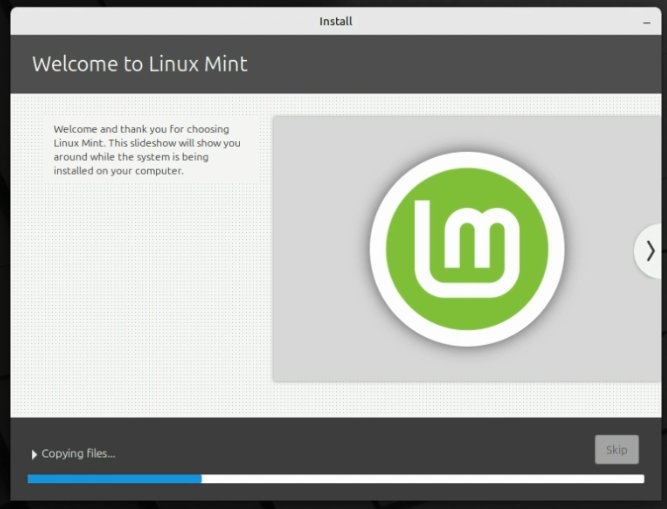
- wait for the installation process to complete.
Step 5: Post-Installation Configuration
- Reboot the virtual machine and remove the installation media.
- Log in to your new Linux Mint installation.

Step 6: Install Open VM Tools
- Open a terminal and run those commands individually to install Open VM Tools for better integration.
sudo apt update
sudo apt upgrade
sudo apt install open-vm-tools-desktop
For a step-by-step walkthrough, be sure to check out the following video.
Additional Tips
Customize Your Linux Mint Experience
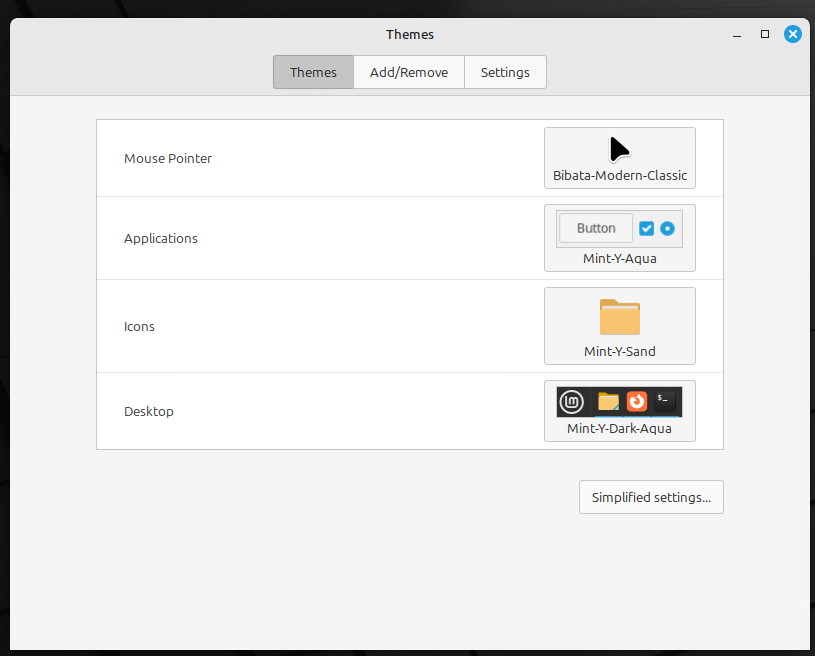
- Personalize Your Desktop: Choose themes, icons, and window managers to match your style.
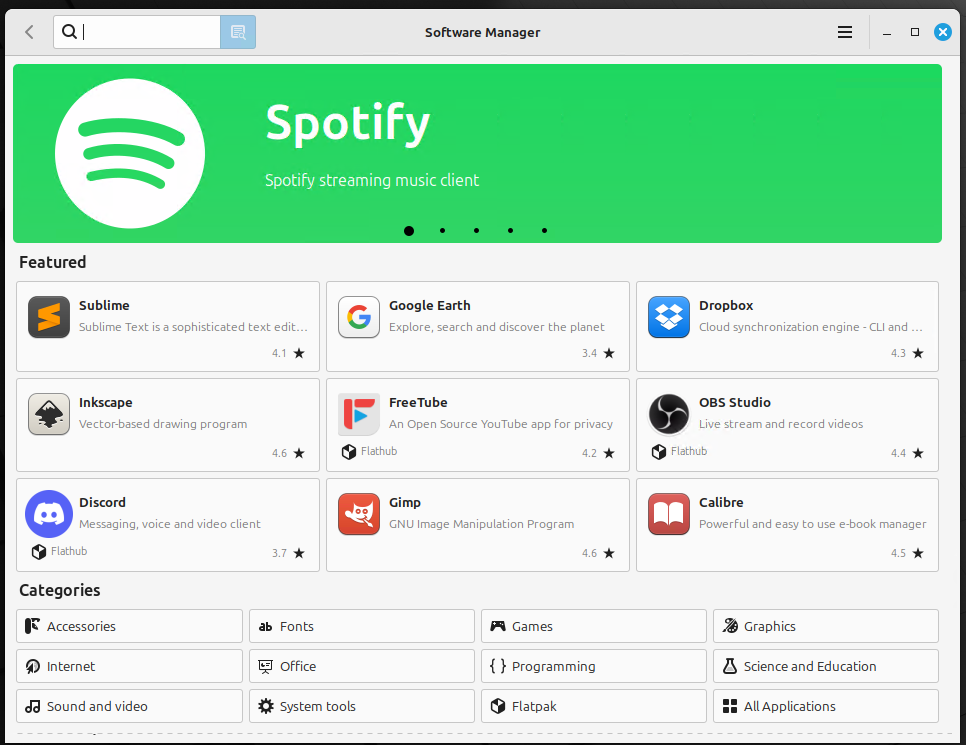
- Install Essential Applications: Use the software manager to add your favorite software.
- Optimize Performance: Adjust settings to improve speed and responsiveness.
- Prioritize Security: Keep your system updated for protection.
Enjoy the Open Source World
- Explore New Software: Discover exciting programs.
- Do More: Linux Mint can help you accomplish various tasks.



Pingback: Best 2024 Remote Desktop Software: Free And Premium Solutions - guidingbytes.com
Pingback: Why VMware Workstation is the Best choice for Home Lab - guidingbytes.com